Projection for the Many: How to Deliver Consistent Image Quality Across Every Seat in the Room
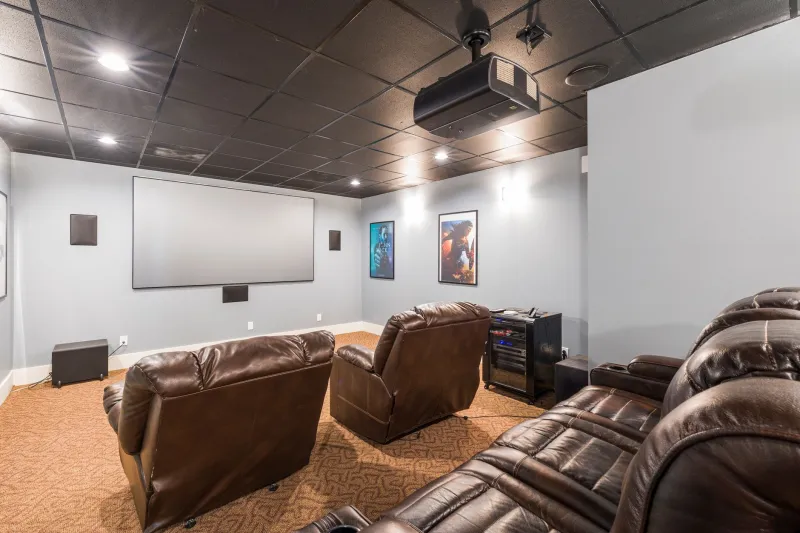
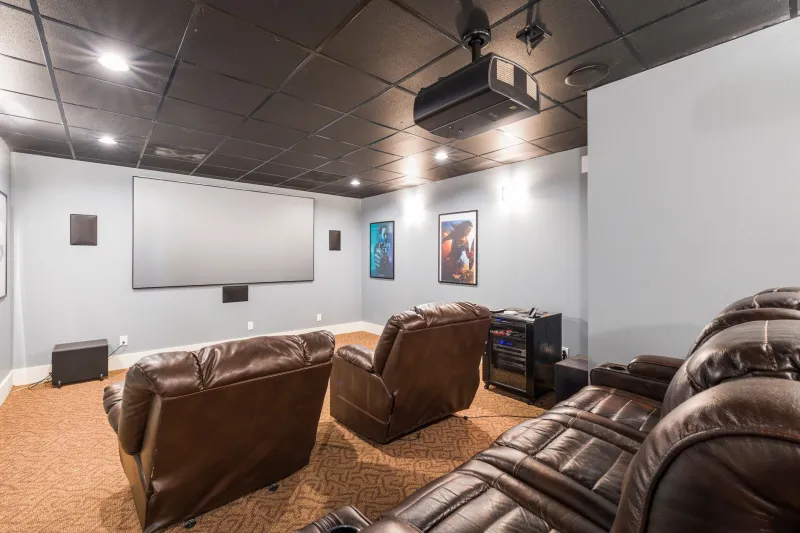
There is a quiet assumption embedded in nearly every projector installation: that one seat — typically the center position directly facing the screen — represents the definitive viewing experience. Everything else is a concession. For solo viewers or tightly arranged home theaters with stadium-style seating, this compromise rarely surfaces. But in living rooms, open-plan offices, and conference rooms where audiences spread laterally across the space, the limitations of a single-axis projection setup become impossible to ignore.
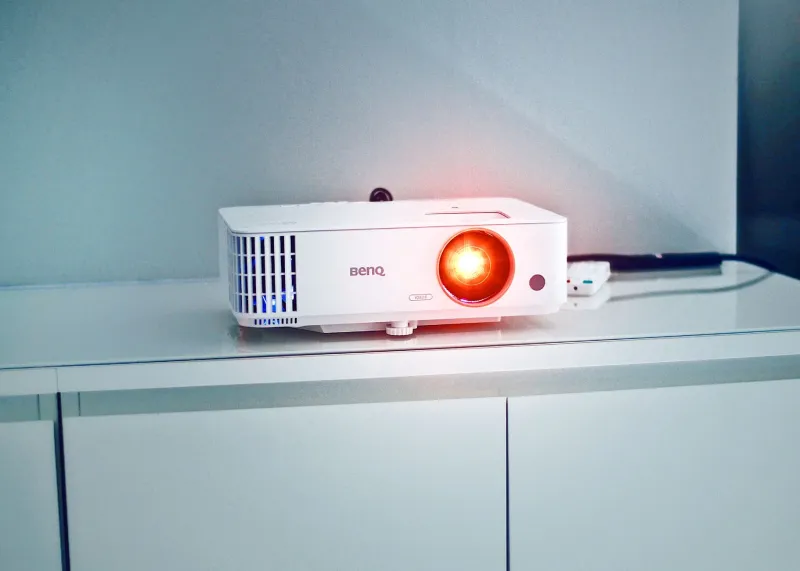
Sanyo LCD projectors are engineered to deliver precise, consistent imagery at their rated specifications. What those specifications describe, however, is performance at an idealized position. The moment a viewer shifts off that axis, a different set of optical and geometric rules takes over — and most buyers are never told what those rules are.
Why the "Sweet Spot" Exists and Why It's Smaller Than You Think
Every projector produces its sharpest, most color-accurate image along a specific projection axis — the imaginary line running from the lens center to the center of the screen. At that point, light intensity is at its peak, color temperature is most faithful to calibration, and the geometry of the image is perfectly rectangular.
Move away from that axis — either by shifting your seating position laterally or by sitting significantly above or below the screen's vertical center — and several things begin to happen simultaneously. First, screen gain becomes a factor. Most projection screens are engineered with a specific gain rating that concentrates reflected light toward the primary viewing axis. A screen with a gain of 1.4, for example, reflects considerably more light toward a centered viewer than toward someone seated at a 30-degree angle from the projection axis. The further off-axis a viewer sits, the more pronounced this falloff becomes.
Second, the perceived geometry of the image shifts. Even a perfectly rectangular projected image begins to appear trapezoidal when viewed from an extreme lateral angle. This is not a projector defect — it is basic perspective geometry. But it is a source of visual fatigue that many viewers attribute to other causes.
Third, color uniformity degrades. LCD panels are sensitive to viewing angle in ways that differ from emissive displays. Colors at the edges of the image, already the most susceptible to uniformity variations from the projector itself, are further affected by the angular relationship between the viewer and the screen surface.
Keystoning and Its Hidden Costs
Keystone correction is often presented as a universal solution to projection geometry problems, but its application creates its own set of trade-offs. When a projector applies digital keystone correction to compensate for an off-axis installation — whether vertical or horizontal — it is effectively cropping and rescaling the native pixel grid. The result is a geometrically corrected image that has, by definition, lower effective resolution than the projector's native panel.
More relevant to multi-seat environments: keystone correction is applied from the projector's perspective, not the viewer's. It corrects the shape of the image as it appears on screen, but it does nothing to address how that image appears from off-axis seating positions. A viewer seated far to the left of center will still perceive angular distortion regardless of how carefully the image has been keystoned for the primary seat.
The practical implication is that keystone correction should be used as sparingly as possible — ideally not at all — and that geometric alignment should be achieved through proper physical placement of the projector rather than through digital compensation.
Screen Selection as a Multi-Seat Strategy
One of the most effective interventions for improving image quality across multiple seating positions is screen selection, a variable that many buyers treat as an afterthought. Gain is the critical specification here.
High-gain screens — those rated above 1.3 or 1.4 — concentrate reflected light aggressively toward the primary viewing axis. In a dedicated home theater with fixed, centered seating, this can be a genuine advantage, delivering higher perceived brightness without requiring more lumens from the projector. In a living room or conference space where viewers are distributed across a wide horizontal arc, that same high gain becomes a liability. Viewers at the edges of the room receive noticeably less light than the centered viewer, and color rendering shifts as the screen's angular falloff curve takes effect.
For multi-seat environments, screens with gain ratings between 1.0 and 1.2 distribute reflected light more evenly across a wider viewing cone. The trade-off is that the centered viewer sees slightly less peak brightness — but the overall consistency of the experience improves substantially for everyone else in the room. In most living rooms and conference spaces operating under ambient light control, this is a worthwhile exchange.
Matte white screens, which approach a gain of 1.0, offer the widest effective viewing cone and the most consistent color rendering across angles. They require a projector capable of delivering adequate brightness for the room size, but they eliminate much of the angular falloff that punishes off-axis viewers.
Room Layout and Seating Geometry
Beyond screen selection, the physical arrangement of the viewing space itself determines how many seats fall within an acceptable viewing cone. A useful working guideline for LCD projection environments is to keep all seating positions within approximately 30 to 35 degrees of the primary projection axis. Beyond that range, the combination of screen falloff, perspective distortion, and color shift accumulates to a degree that most viewers will notice even if they cannot immediately identify the cause.
In rectangular rooms, this means that the width of your seating arrangement should not significantly exceed the width of the screen itself. A 120-inch diagonal screen in a 16:9 aspect ratio measures roughly 105 inches wide. Seating that extends substantially beyond that width — particularly at close distances — will place viewers outside the optimal cone.
For conference rooms, where side-wall seating is common, this constraint is particularly challenging. One practical solution is to position the screen at one end of the room rather than centered on a long wall, allowing the audience to be arranged in a configuration that keeps most seats within the acceptable angular range. Where the room layout makes this impossible, dual-display configurations — with a second monitor or display positioned to serve lateral viewers — may ultimately deliver better results than attempting to stretch a single projection setup across an unsuitable geometry.
Lens Shift as the Preferred Alignment Tool
Sanyo LCD projectors equipped with optical lens shift offer a meaningful advantage in multi-seat installations. Unlike digital keystone correction, optical lens shift moves the projected image by physically repositioning the lens assembly. This preserves the full native resolution and pixel integrity of the image while allowing the projector to be offset from the screen center — a capability that permits more flexible physical placement without the resolution penalty of digital correction.
In practice, using lens shift to position the projector slightly above or below the screen center, rather than relying on vertical keystone to compensate for a poorly placed unit, preserves image quality at the primary seat while also maintaining the geometric integrity that off-axis viewers depend on. Pairing proper lens shift adjustment with a low-gain screen and a carefully designed seating layout addresses most of the variables that degrade multi-seat image quality.
Calibration That Accounts for the Room
Finally, it is worth acknowledging that calibration performed exclusively at the primary viewing position will not reflect the experience of viewers elsewhere in the room. A display professional conducting a thorough calibration of a multi-seat environment will take readings from multiple positions and make adjustments that balance performance across the seating area rather than optimizing for a single chair.
For home theater owners and facilities managers alike, the goal is not perfection at one point — it is adequacy, and ideally excellence, at every point where a viewer is likely to sit. That standard requires thinking about projection not as a single-axis technology, but as a spatial one. The physics of light, geometry, and screen reflectivity do not change based on where the primary viewer sits. Designing around those physics, rather than ignoring them, is what separates a genuinely successful installation from one that serves only the person lucky enough to claim the center seat.