Not the Lamp: How Internal Dust Accumulation Silently Robs Your LCD Projector of Brightness
There is a particular frustration that long-term projector owners know well. The image that once filled the screen with confident, punchy brightness has become something softer, flatter, and harder to watch in anything but a fully darkened room. The instinct, almost universally, is to blame the lamp. Lamp hours are checked, replacement costs are researched, and a new bulb is ordered — only for the image to return at perhaps 80 percent of the expected improvement.
The lamp was never the primary problem. The dust was.
Internal optical contamination is among the most underdiagnosed sources of brightness loss in LCD projectors, including units from Sanyo's extensive lineup of business and home theater models. It operates slowly, invisibly, and in locations that no amount of external wiping will ever reach. Understanding the mechanics of how dust travels through a projector — and where it ultimately settles — is the first step toward maintaining the performance you paid for.
Why Dust Behaves Differently Inside a Projector
Most electronics accumulate dust passively. A projector is different. It actively draws air through its chassis using one or more cooling fans, creating a continuous internal airflow that serves as both a temperature management system and, inadvertently, a dust delivery mechanism.
In Sanyo LCD projectors, air enters through filtered intake vents, passes across heat-generating components, and exits through exhaust ports. The filter is designed to capture particulate matter before it reaches the optical engine. But filters are not perfect barriers. Over time — particularly when cleaning intervals are neglected — fine particles smaller than the filter mesh will pass through. Others accumulate at the filter boundary and are dislodged in concentrated bursts when the unit vibrates or when the filter is handled carelessly during cleaning.
Once inside the chassis, these particles follow the airflow toward the optical core: the lamp housing, the condenser lens array, the dichroic mirrors that split white light into its red, green, and blue components, and ultimately the LCD panels themselves.
The Specific Surfaces That Matter Most
Not all internal surfaces affect brightness equally. The optical path in an LCD projector is a sequence of precisely aligned elements, and contamination at any point in that sequence reduces the light available to subsequent stages.
The condenser lens assembly is often the first optical surface that unfiltered dust reaches. These lenses concentrate and direct light from the lamp toward the LCD panels. A thin film of dust here does not block light entirely — it scatters it. Scattered light reduces contrast and perceived sharpness, but more critically, it represents lumens that never reach the panel in a usable form.
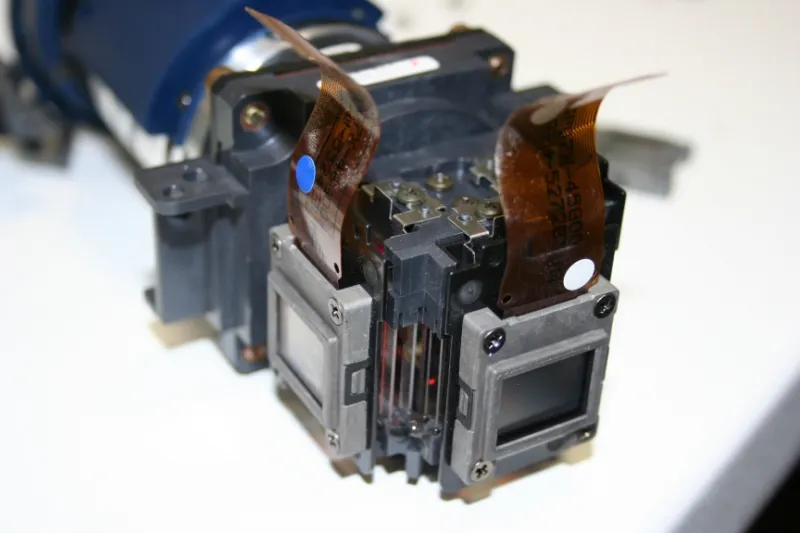
The dichroic mirrors and beam-splitting prisms are particularly vulnerable in Sanyo's three-panel LCD architecture. These components are responsible for separating white light into the three color channels that each LCD panel processes independently. Dust on these surfaces introduces color imbalance in addition to brightness loss, which is why contaminated projectors often exhibit a yellowish or greenish tint that owners mistake for panel aging.
The LCD panels themselves represent the most consequential contamination point. Dust adhered to the surface of an LCD panel appears in the projected image as fixed shadow artifacts — soft, stationary smudges that move with the panel rather than the content. At lower concentrations, the effect is a generalized reduction in panel transmittance: the panel simply passes less light than it was designed to, regardless of lamp output.
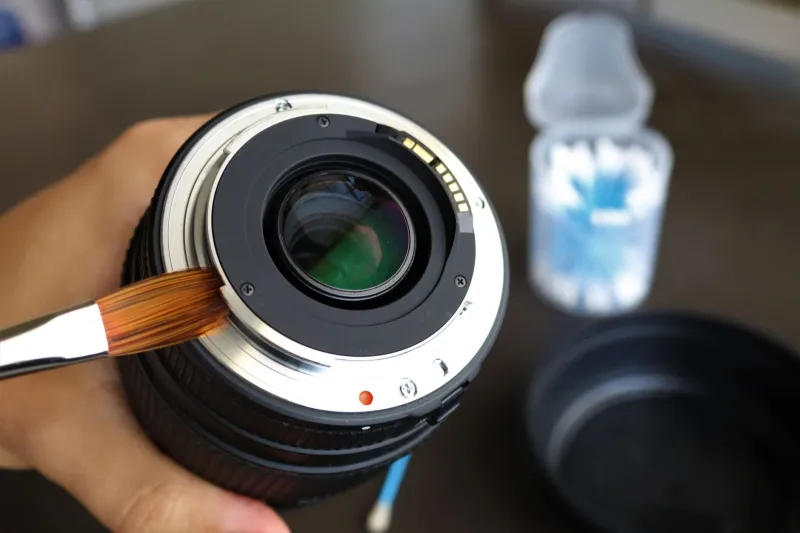
The projection lens is the surface most owners do clean, but it is also the least likely to be the primary source of significant brightness loss. Light loss at the projection lens affects the entire image uniformly, which makes it noticeable — but the lens is also the easiest element to access and clean correctly.
Why External Cleaning Is an Incomplete Solution
The standard maintenance advice for projectors — clean or replace the air filter regularly — is correct, but it addresses only the intake side of the contamination problem. It does nothing for particles that have already passed the filter and settled on internal optics.
Similarly, wiping down the projection lens with a microfiber cloth is a legitimate step, but it addresses the last surface in the optical chain rather than the earlier stages where cumulative losses are typically greater.
This gap between what owners clean and what actually needs cleaning explains why so many brightness complaints persist even after conscientious external maintenance. The filter is spotless. The lens is polished. The image is still dim. The problem is several layers deeper than any accessible surface.
Recognizing the Signs of Internal Optical Contamination
Several observable symptoms suggest that dust accumulation on internal optics is the primary cause of brightness decline, rather than lamp degradation alone.
First, consider the rate of decline. Lamp output diminishes gradually and predictably over its rated lifespan — typically a smooth curve rather than a noticeable step change. If your projector's brightness has decreased noticeably over a period of months without a corresponding increase in lamp hours, or if the decline accelerated after a period of heavy use in a dusty environment, internal contamination is a strong candidate.
Second, examine the image for uniformity. Lamp degradation affects overall brightness relatively evenly across the image. Internal optical contamination, particularly on the LCD panels or condenser lenses, often produces uneven dimming — brighter at the center, darker toward the edges, or with soft shadow regions that do not correspond to the projected content.
Third, check for color shift. If whites appear warm or tinted rather than neutral, and this shift has developed over time, contamination on the dichroic beam-splitting elements is a likely contributor.
When Professional Internal Cleaning Makes Financial Sense
Internal optical cleaning requires partial disassembly of the projector's optical engine — a process that is beyond the scope of user-level maintenance for most owners and that can void manufacturer warranties if performed incorrectly. The question of whether to pursue professional cleaning or simply replace the unit is a practical one that depends on several variables.
For projectors with fewer than 2,000 lamp hours remaining on a replacement lamp, and where the unit is otherwise functioning correctly, professional cleaning is almost always the more cost-effective path. A thorough internal cleaning by a qualified AV technician typically costs between $150 and $300 depending on the model and the extent of contamination — a fraction of the cost of a comparable replacement unit.
For projectors approaching end-of-lamp life simultaneously with optical contamination issues, the calculus shifts. In those cases, a combined lamp replacement and professional cleaning service may restore the unit to near-original performance and extend its useful life by several years, making it worth the combined investment.
Owners of Sanyo business projectors used in high-traffic conference environments — where dust exposure is elevated and cleaning intervals are often inconsistent — should consider scheduling professional internal inspections on a two-year cycle regardless of visible symptoms. Preventive cleaning at that interval is substantially less expensive than reactive cleaning after significant optical degradation has occurred.
Reducing Future Contamination Risk
No projector can be made entirely immune to internal dust accumulation, but several practices meaningfully reduce the rate at which it occurs.
Filter maintenance is the most impactful single habit. Sanyo recommends specific cleaning intervals for each model series; adhering to those intervals — or shortening them in dusty environments — is the most effective first line of defense. When cleaning filters, remove them gently and clean them away from the projector to avoid dislodging accumulated dust back into the intake.
Projector placement also matters. Units mounted near HVAC vents, in rooms with carpet that is frequently disturbed, or in workshop-adjacent spaces will accumulate internal contamination faster than units in cleaner environments. Where possible, position the projector away from direct airflow sources and at a height that reduces exposure to floor-level particulate matter.
Finally, allow the projector to complete its full cooling cycle before moving or storing it. Interrupting the cooling fan prematurely while optical components are still warm can cause airborne particles to settle on surfaces that would otherwise remain clean during normal operation.
The Takeaway
Brightness loss in an LCD projector is rarely a single-cause problem, but internal dust accumulation is far more frequently the dominant factor than most owners realize. Before committing to a lamp replacement — or worse, an entirely new unit — it is worth having the optical path inspected by someone qualified to assess it properly. In many cases, what appears to be an aging projector is simply a clean one waiting to happen.