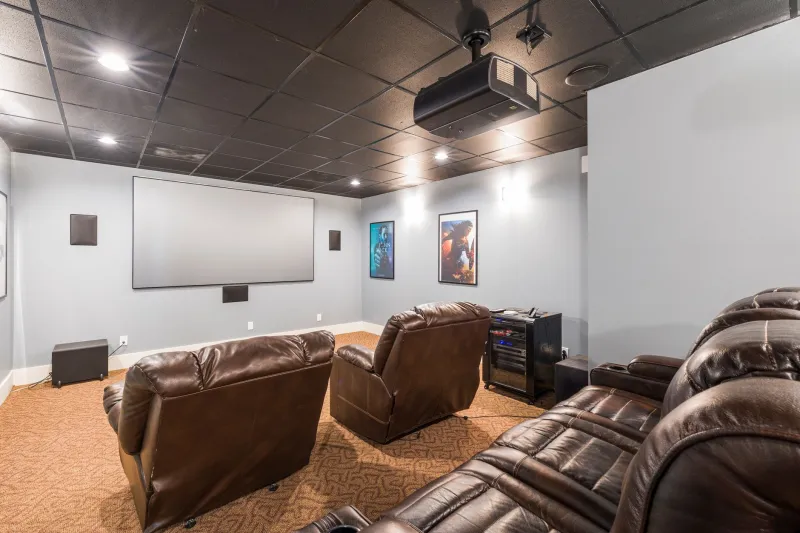
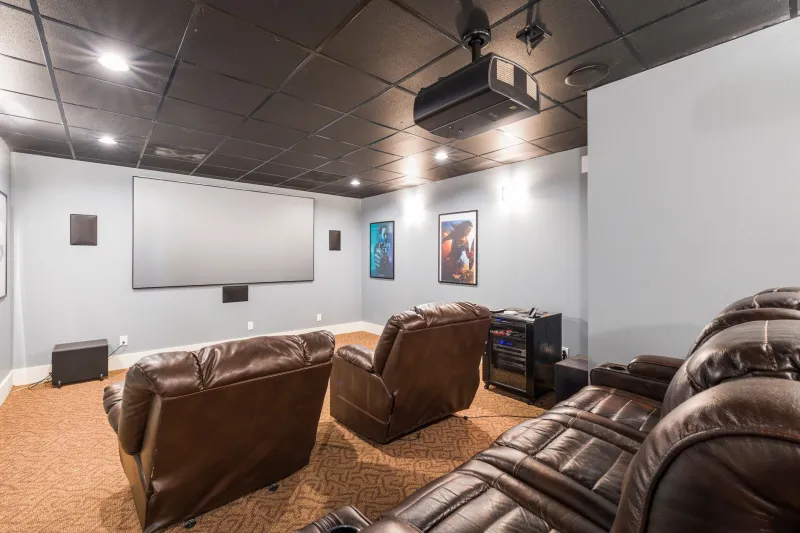
Angle of Deception: Why Ceiling-Mounted Projectors Distort Color and Contrast in Ways Your Brain Never Flags
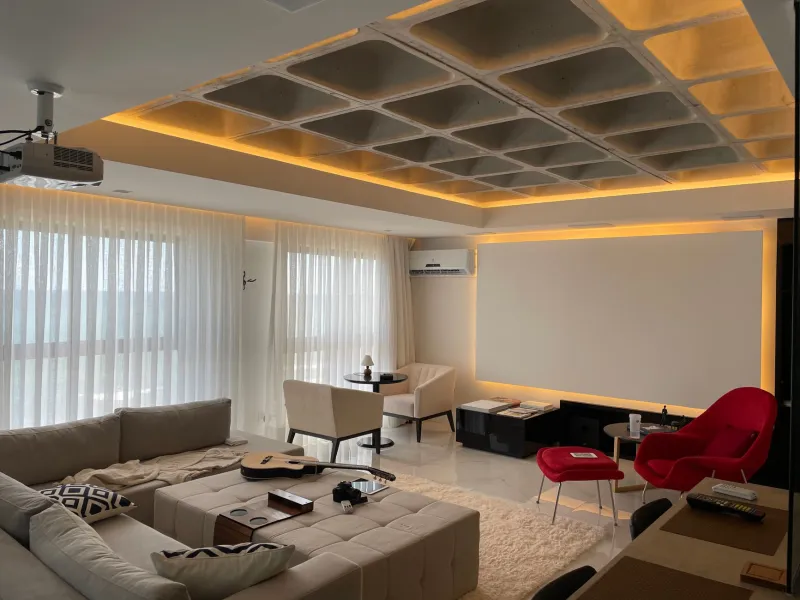
There is a quiet assumption embedded in nearly every residential and commercial projector installation in the United States: that ceiling height is the natural home for a projector. It keeps the unit out of foot traffic, simplifies cable routing, and satisfies the aesthetic preference for a clean, uncluttered room. What it does not do — and what very few installers will tell you — is preserve the optical integrity of your image at the viewing positions that matter most.
The relationship between projection angle and perceived image quality is not a matter of preference or sensitivity. It is a matter of physics. And when that physics is ignored at the installation stage, the resulting degradation in color accuracy and contrast depth becomes a permanent feature of your viewing experience.
How LCD Panels Distribute Light in Three Dimensions
Liquid crystal display technology, as used in Sanyo LCD projectors, does not emit light uniformly in all directions. The polarizing filters, liquid crystal layers, and optical coatings that define image quality each have directional characteristics. Light passing through these components at different angles encounters different degrees of refraction, absorption, and phase shift.
In practical terms, this means that the image your projector produces is optimized for a specific angular range relative to the projection axis. When the projector is mounted at ceiling height — typically eight to twelve feet above floor level in a standard room — and the screen is positioned at or near eye level for a seated viewer, the optical path from the LCD panel to your eye is no longer aligned with that optimized range. You are, in effect, viewing the image from a direction the panel was not designed to prioritize.
The consequences are not dramatic enough to trigger an immediate complaint. Colors do not suddenly appear wrong. Contrast does not visibly collapse. What happens instead is a gradual, systematic shift that your visual system normalizes almost immediately — which is precisely what makes this problem so difficult to identify and so easy to dismiss.
The Specific Ways Elevated Angles Alter What You See
Several distinct optical phenomena emerge when an LCD projector operates from a significantly elevated position relative to the viewer's line of sight.
Saturation compression in the upper color gamut. At steeper downward projection angles, the polarizing filters in an LCD panel exhibit increased light leakage in specific wavelength bands. The practical result is that highly saturated colors — particularly reds and deep blues — appear slightly muted compared to how they would render at a perpendicular viewing angle. This compression is rarely severe enough to register as a calibration fault, but it consistently places color reproduction below the panel's actual capability.
Contrast ratio reduction at the extremes. Black levels in LCD projection are achieved through the suppression of light transmission at the liquid crystal layer. This suppression is angle-dependent. At the off-axis viewing geometry created by ceiling-height mounting, the effective contrast ratio — the measurable difference between the brightest white and the deepest black the system can produce — is lower than what the projector's specification sheet describes. The specification is measured at the optimal angle. Your ceiling mount is not at that angle.
Luminance gradient across the screen surface. A projector mounted high above the screen's center introduces a non-uniform throw geometry. The top portion of the screen receives light at a shallower angle than the bottom portion. This creates a subtle luminance gradient — brighter at the top, slightly dimmer at the bottom — that is particularly noticeable during scenes with large areas of uniform color, such as sky backgrounds or presentation slides.
Perceived white point shift. The color temperature of white, as seen by a viewer looking upward at a ceiling-mounted projection, can shift slightly toward cooler or warmer tones depending on the specific LCD panel characteristics and the degree of angular offset. This shift is typically below the threshold of conscious detection but measurable with a colorimeter — and it undermines the value of any color calibration performed at the projector's internal settings.
Why Your Brain Does Not Report the Problem
Human visual perception is built for adaptation. The eye-brain system continuously adjusts its interpretation of color, brightness, and contrast based on available context. When you sit in a room and watch a ceiling-mounted projector for several minutes, your visual system establishes a new baseline that treats the slightly compressed colors and subtly reduced contrast as normal. This is the same mechanism that allows you to read comfortably under fluorescent office lighting that would appear harsh if you walked in from direct sunlight.
The adaptation is so effective that most viewers never consciously register the degradation. They simply experience the image as it is — without any reference to how it could appear if the projector were positioned differently. This is why the problem persists across countless installations that are otherwise technically competent. There is no visible symptom to report, no obvious artifact to troubleshoot.
The only reliable way to reveal the difference is side-by-side comparison: the same projector, the same content, the same screen — first from ceiling height, then from a position aligned with the viewer's horizontal line of sight. The difference, once seen in direct comparison, is difficult to unsee.
Placement Strategies That Align With Room Geometry
Correcting for elevated projection angles does not necessarily require abandoning ceiling mounts. It requires understanding what the geometry of your specific room actually demands, and designing the installation around that understanding rather than around installation convenience.
Prioritize horizontal axis alignment. The single most effective placement principle is to position the projector's lens as close as possible to the horizontal plane that passes through the center of the screen. For a screen centered at 48 inches from the floor — a common seated eye-level reference — a projector mounted at the same height, or within a few inches of it, will deliver substantially more accurate color and contrast than one mounted at ceiling height with lens shift compensating for the offset.
Use lens shift rather than keystone, and use it minimally. Optical lens shift preserves image geometry without distorting the pixel grid, but it does not eliminate the angular offset between the projector's optical axis and the viewer's line of sight. Treat lens shift as a fine-tuning tool, not a license to mount the projector wherever is most convenient.
Reconsider the screen height. In rooms where the projector position is constrained — by ceiling height, structural limitations, or existing infrastructure — raising the screen rather than lowering the projector can reduce the angular offset meaningfully. A screen centered at 60 inches from the floor, in a room with an eight-foot ceiling, closes the angular gap significantly compared to a screen centered at 48 inches.
Calibrate at the viewing position, not at the projector. If ceiling mounting is unavoidable, perform color and contrast calibration using measurements taken at the primary seating position, not at the screen surface. A colorimeter placed where your eyes actually are will capture the angle-dependent shifts that screen-surface measurements miss, allowing the projector's internal settings to compensate for at least a portion of the perceptual distortion.
Account for room depth. Longer throw distances reduce the angular impact of elevated mounting because the vertical offset becomes a smaller proportion of the total throw length. In a deep room — 18 feet or more from projector to screen — a ceiling mount at nine feet introduces a less severe angular offset than the same mount in a 10-foot-deep room. Room depth is a legitimate factor in placement decisions, not merely a constraint.
The Standard Worth Holding
Sanyo LCD projectors are engineered to deliver precise, consistent image quality across a demanding range of use cases — from corporate boardrooms to dedicated home theaters. That engineering is expressed through the optical performance of the panel at its intended operating geometry. When installation decisions override that geometry in the name of convenience, the projector's capability is systematically underutilized.
The ceiling is not the enemy of good projection. Uninformed installation is. Understanding the physics of viewing angle — and making deliberate choices about placement based on that understanding — is the difference between a projector that performs to its specification and one that quietly delivers less than it was designed to offer. Every pixel in your image was produced with precision. The least any installation should do is deliver those pixels to your eyes at the angle that lets them be seen clearly.